-
Materials:
Post-it® Notes, Scotch® Masking Tape, green floral tape, wire, pencil, cork, scissors (and or utility knife)
-
Estimated Time:
20 - 30 minutes
-

-

Trace That Line!
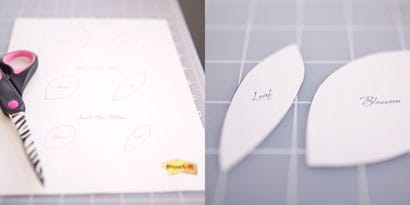
Print out this flower template (PDF, 123 KB), then cut out the flower and leaf patterns.

-

We’ve Run the Numbers
Trace the pattern onto your favorite color Post-it® Notes and cut them out. Trace 40 petals for the large rose, 35 petals for the medium, and 30 for the small. On the leaf-colored paper, trace 2-3 leaves per flower.
Pro tip: Position the paper so the V shape of the petal sits on the sticky part of the Post-it® Note. This will be helpful later!

-

Twirl
Wrap the petals around a pencil (or roll them with your fingers) so they all curl cynlindrically.

-

Petal Wrap
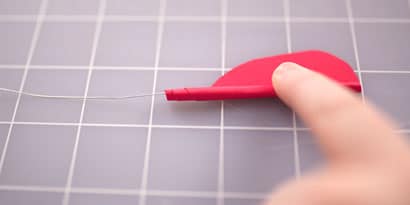
Take a 6-10 inch wire, and wrap a petal around it (V side down), tight enough so that the wire doesn’t show. Secure the petal with hot glue.

-

Petal Harder
Take another petal and wrap it a little looser than the first one around the stem (again, V side down). Secure with hot glue. Keep adding petals!
Pro tip: Move downward and distribute evenly around the rose when adding petals.
-

Leaf It
Once your blossom is set, glue or tape the leaf cutouts onto the blossom stem. You can give them a natural curl by wrapping them around a pencil.

-

Stem It
Finish up by wrapping the wire with Scotch® Masking Tape first then covering it with green floral tape. Wrap carefully around the leaves!

Clap. Clap. Clap. That is truly a magnificent rose.


